How to back up multiple WordPress databases
How to activate more database options with UpdraftPlus Premium
Follow these steps to activate additional database options. Back up not only your WordPress database but also custom and external databases.
1. Install and Activate UpdraftPlus
If you haven’t already, purchase UpdraftPlus Premium and follow the simple installation instructions.
2. Open UpdraftPlus settings
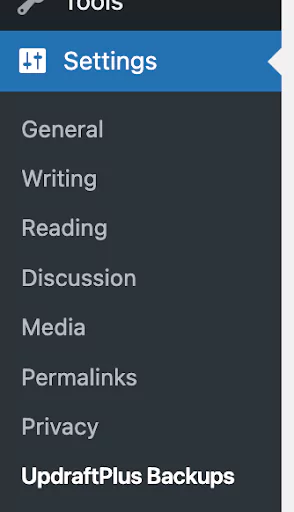
Go to the WordPress ‘Settings’ menu and open ‘UpdraftPlus Backups’.
3. Access the ‘backup more database options’ feature
Go to the ‘Settings’ tab within UpdraftPlus
Scroll down to the ‘Backup more databases’ section.

4. Back up non- WordPress tables
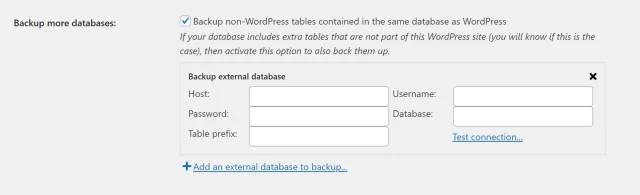
To back up custom tables, tick the box which reads ‘Back up non-WordPress tables contained in the same database as WordPress.’

5. Back up external databases
In the same section as above, click ‘Add an external database to backup..’
6. Connect to the external database
Enter the following:
Host: Enter the hostname or IP address of the database server. This can include the port number (usually 3306 for MySQL e.g. 127.0.0.1:3306.
Username: Enter the username which has access to the database.
Password: Enter the password for the database user.
Database: Enter the name of the database.
Table prefix: The WordPress database prefix configured in the site wp-config file.
7. Test the database connection
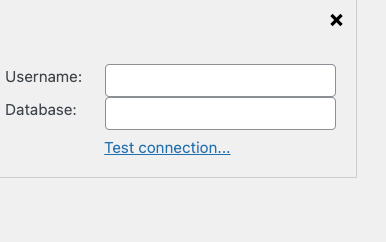
Click ‘Test connection…’ to check the link between UpdraftPlus and your external database.
If the connection is successful, you will see a confirmation message. If not, check the details and try again.
8. Save the settings
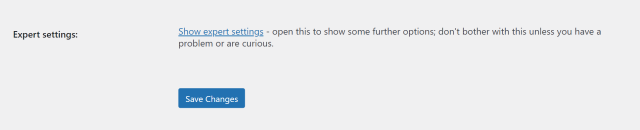
Remember to hit ‘Save Changes’ at the bottom the settings tab to store the external database configuration.